

Wooden fences add charm and character to your property, but they are also exposed to the elements, which can cause them to deteriorate over time. Whether you’ve recently installed a new fence or are refreshing an old one, painting or staining it can provide long-lasting protection. By taking the proper steps and choosing the right products, you can extend the life of your fence while enhancing its appearance. Below, we will guide you through the essential steps for painting or staining your wooden fence to ensure durability and beauty.
1. Choose Between Paint and Stain
Before beginning the project, the first decision you need to make is whether to paint or stain your fence. Each option offers distinct advantages.
- Paint: Painting provides a solid, opaque finish that can completely transform the look of the wood. It also creates a protective barrier that helps prevent water penetration, which can lead to rotting or warping over time. If you want a more vibrant color and are looking to cover imperfections, paint may be the ideal option.
- Stain: Staining penetrates the wood, preserving its natural texture and grain. It provides a more subtle, semi-transparent finish, which allows the beauty of the wood to shine through. Stains also provide UV protection and are less prone to cracking or peeling compared to paint, making them a great choice if you prefer a more natural look with added durability.
Consider your aesthetic preferences, the condition of the wood, and how much maintenance you’re willing to commit to when deciding which to use.
2. Prepare the Fence for Painting or Staining
Preparation is key to achieving a professional, long-lasting result. Take the time to properly prepare the surface, as this will ensure that the paint or stain adheres properly and lasts longer.
- Clean the Wood: Before applying any paint or stain, thoroughly clean the fence. Use a power washer to remove dirt, mildew, and any old peeling paint or stain. If you don’t have a power washer, a stiff brush and soapy water can work well too. For tougher stains, use a specialized wood cleaner or mildew remover. Allow the fence to dry completely before proceeding.
- Repair Damaged Sections: Check your fence for any damaged or rotting sections. Replace any broken boards or nails and make sure the structure is sound. If there are areas where the wood is splintered, sand them down to create a smooth surface.
- Sand the Surface: Light sanding will help the paint or stain adhere better to the wood. Use medium-grit sandpaper or a power sander for large areas. Sanding not only helps with adhesion but also smooths out rough spots that can disrupt the finish.
3. Choose the Right Paint or Stain
The type of paint or stain you choose will directly impact the longevity and appearance of your fence. Look for products specifically designed for outdoor wood surfaces, as they offer protection against moisture, UV rays, and temperature fluctuations.
- Exterior Paint: For maximum protection and a solid finish, opt for high-quality exterior paint. Look for paints that contain UV blockers and are formulated for wood surfaces. Oil-based paints tend to provide better coverage and durability compared to water-based paints, though they take longer to dry and require more cleanup.
- Wood Stain: When selecting a stain, choose one that is specifically formulated for outdoor wood surfaces. You can find both oil-based and water-based stains. Oil-based stains typically provide better penetration into the wood, offering long-lasting protection, while water-based stains tend to dry faster and are easier to clean.
4. Apply the Paint or Stain
- Time It Right: Ensure you apply the paint or stain on a dry, mild day when the weather is not too hot or too cold. Avoid painting or staining in direct sunlight, as this can cause the product to dry too quickly, leaving streaks or an uneven finish. Aim for temperatures between 50°F and 85°F (10°C to 29°C).
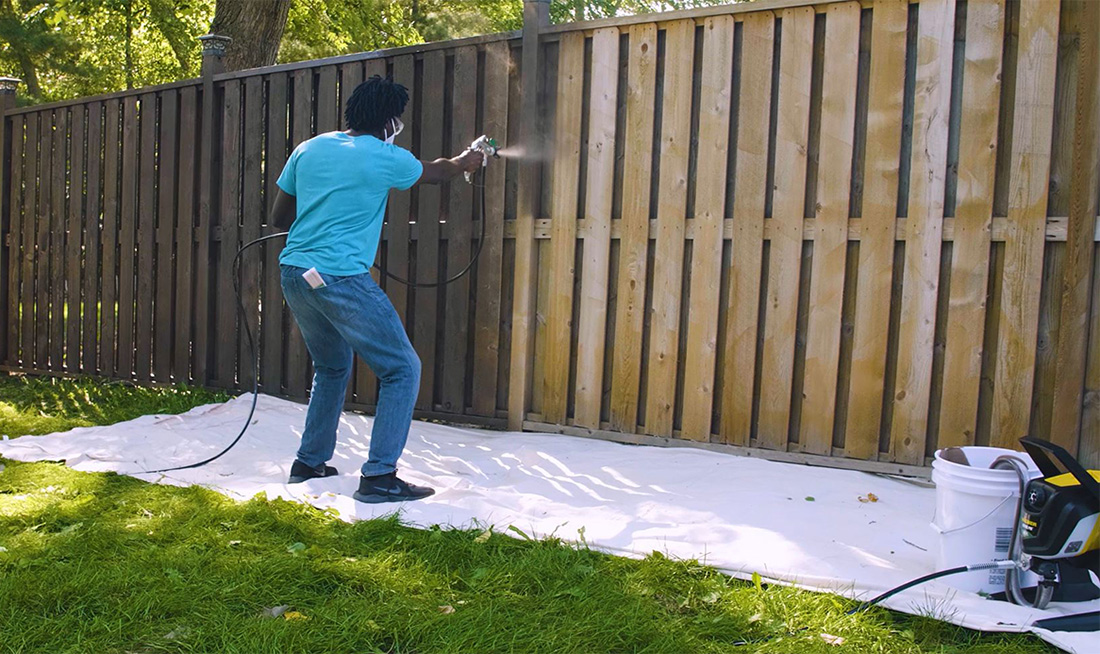
- Use the Right Tools: Use a high-quality brush or a sprayer for application. A brush is ideal for smaller fences and allows for more control, while a sprayer is efficient for covering large areas quickly. If using a sprayer, make sure to spray in long, smooth strokes, and overlap slightly to ensure even coverage.
- Apply in Thin Layers: Whether painting or staining, it’s essential to apply thin, even coats. For paint, use two coats for full coverage and durability. For stain, one coat is typically sufficient, but a second coat can provide additional depth and protection. Allow each coat to dry completely before applying the next.
5. Seal the Wood
For added protection, especially when staining your fence, consider applying a clear wood sealer or topcoat after the paint or stain has dried. This will help protect the wood from water damage, UV rays, and the wear and tear of daily life. Look for sealers that are specifically designed for exterior wood surfaces, and apply them according to the manufacturer’s instructions.
6. Maintenance for Longevity
Once your fence is painted or stained, regular maintenance will ensure that it remains in excellent condition for years to come. Every couple of years, inspect the fence for signs of wear, such as peeling paint or fading stain. Clean the fence regularly to prevent dirt buildup and mildew growth. Reapply paint or stain as needed to maintain its protective barrier and appearance.
Final Thoughts
Painting or staining your wooden fence is an investment that enhances the beauty and durability of your property. By following the proper steps for preparation, choosing the right products, and applying them with care, you can ensure that your fence remains a long-lasting, low-maintenance feature of your home. With just a bit of effort, your wooden fence will withstand the test of time, standing strong against the elements while adding timeless charm to your landscape.